 NFT Collections")

Natural selection is testing this #Altcoins season 🌊. In this cycle, many are once again diving deep into research, searching for “the best” after Bitcoin & @Joseinnewworld makes waves 124 #NFTs — Wow, a strong signal for those still weighing their moves. #eCash $XEC #CryptoNews pic.twitter.com/GB3dRvH01U
— NFToa (@nftoa_) September 26, 2025
This tutorial will guide you through installing the LAMP stack on Ubuntu 18.04 LTS. A software stack is a collection of software tools combined to work together. LAMP stands for Linux, Apache, MariaDB/MySQL, and PHP, all of which are open-source and free to use. It is the most common software stack powering dynamic websites and web applications. Linux is the operating system; Apache is the web server; MariaDB/MySQL is the database server, and PHP is the server-side scripting language responsible for generating dynamic web pages.
To follow this tutorial, you will need Ubuntu 18.04 OS running on your local computer or a remote server.
If you're looking for a VPS (Virtual Private Server), you can sign up for DigitalOcean through this special link to get $50 in free credits (new users only). If you are already a DigitalOcean user, you can sign up for Vultr via this special link to get $50 in free credits (new users only).
For setting up LAMP with a domain name, consider purchasing a domain from NameCheap for its affordable pricing and free WHOIS privacy protection.
Step 1: Update Software Packages
Before installing the LAMP stack, it's a good practice to update the repository and software packages. Run the following commands on your Ubuntu 18.04 OS:
sudo apt update
sudo apt upgrade
Step 2: Install Apache Web Server
Use the following command to install the Apache web server. The apache2-utils package will install useful utilities like the Apache benchmarking tool (ab).
sudo apt install -y apache2 apache2-utils
Apache should start automatically after installation. Check its status with systemctl:
systemctl status apache2
You should see output similar to:
● apache2.service - The Apache HTTP Server
   Loaded: loaded (/lib/systemd/system/apache2.service; enabled; vendor preset: enabled)
   Active: active (running)
If it’s not running, start it with:
sudo systemctl start apache2
Enable Apache to start automatically at boot:
sudo systemctl enable apache2
Check the Apache version:
apache2 -v
Output:
Server version: Apache/2.4.29 (Ubuntu)
Server built: 2018-06-27T17:05:04
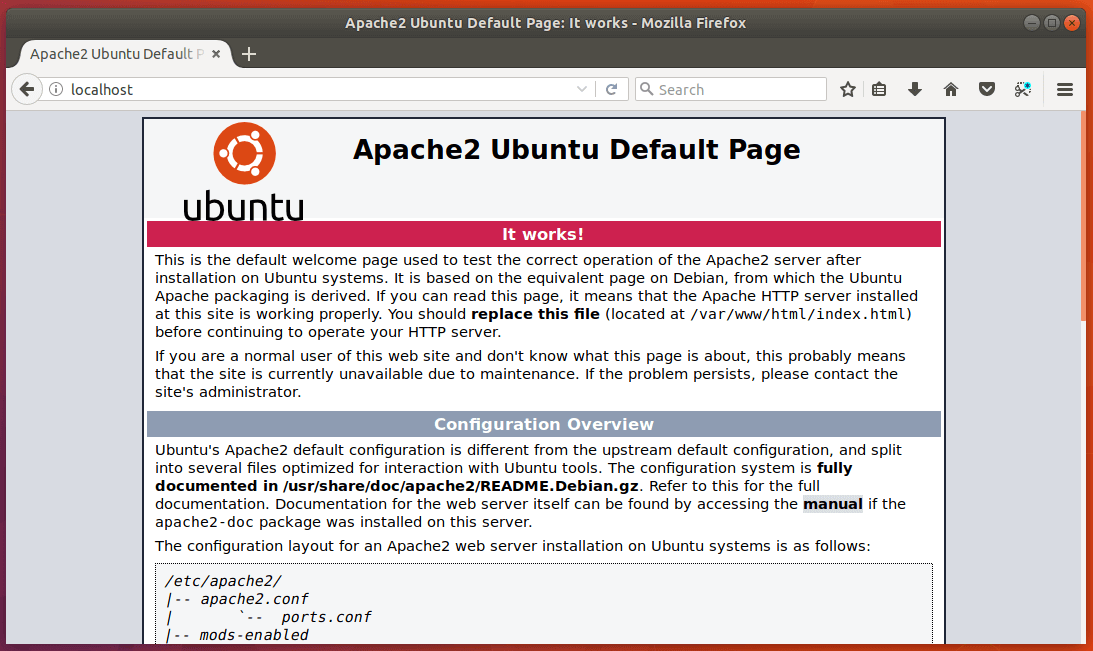
Now, enter your server’s public IP address in the browser's address bar. If successful, you’ll see the “It works!” page, indicating Apache is running correctly.
If the connection is denied or fails, open TCP port 80 using:
For iptables:
sudo iptables -I INPUT -p tcp --dport 80 -j ACCEPT
For UFW firewall:
sudo ufw allow http
Change the ownership of the web root directory to the Apache user (www-data):
sudo chown www-data:www-data /var/www/html/ -R
Step 3: Install MariaDB Database Server
MariaDB is a drop-in replacement for MySQL. Install it with:
sudo apt install mariadb-server mariadb-client
Check MariaDB status:
systemctl status mariadb
If it’s not running, start it:
sudo systemctl start mariadb
Enable MariaDB to start on boot:
sudo systemctl enable mariadb
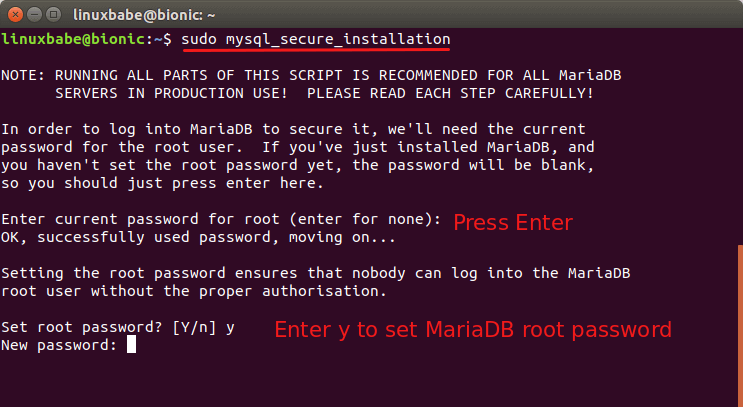
Secure the installation with:
sudo mysql_secure_installation
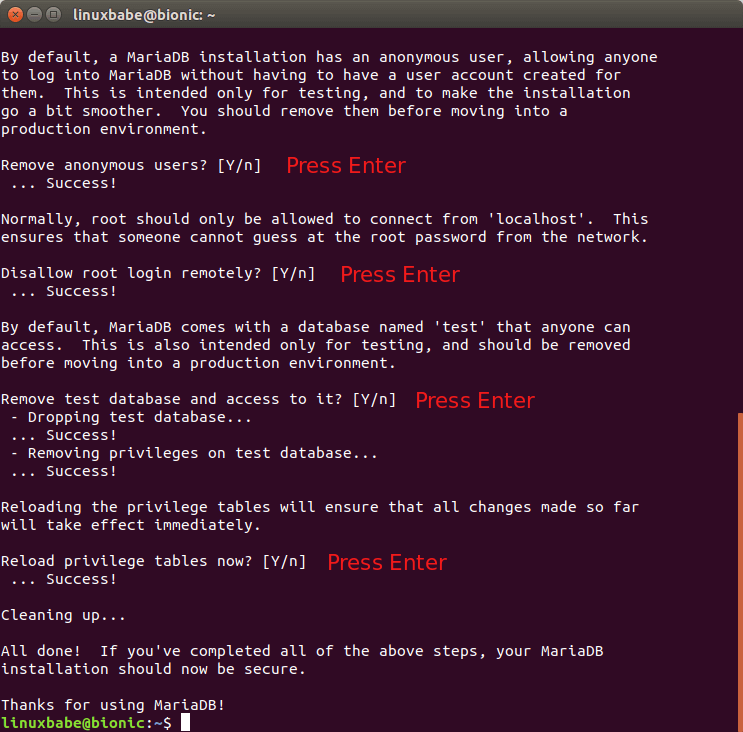
Follow the prompts to set a root password and improve security by removing anonymous users, disabling remote root login, and removing test databases.
Log in to MariaDB without a password using:
sudo mariadb -u root
Exit with:
exit;
Check the MariaDB version:
mariadb --version
Step 4: Install PHP 7.2
Install PHP and necessary modules:
sudo apt install php7.2 libapache2-mod-php7.2 php7.2-mysql php-common php7.2-cli php7.2-json php7.2-opcache php7.2-readline
Enable PHP module and restart Apache:
sudo a2enmod php7.2
sudo systemctl restart apache2
Check PHP version:
php --version
Testing PHP
Create a test PHP file:
sudo nano /var/www/html/info.php
Add the following PHP code:
<?php phpinfo(); ?>
Save the file and access it by entering http://your-server-ip/info.php in the browser. If successful, you’ll see the PHP configuration page, confirming PHP is working with Apache.

You're all set!